This would be roughly the first 2-4 weeks of your recovery.

Education
The aim here is to start loading your tibialis posterior tendon progressively. Tendons love load but it needs to be the right level for what they can tolerate for that period of time. You want to reintroduce load to the tendon and progressively load it so it can tolerate more. This ability to tolerate more load will mean you can perform more tasks day-to-day and eventually return to your sporting activity of choice.
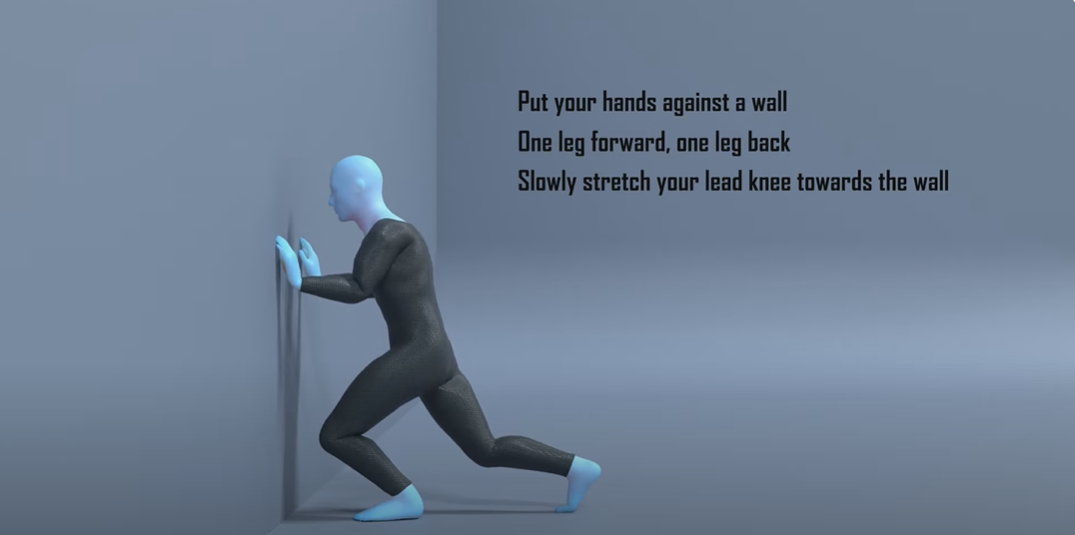
Remember the movements that the tibialis posterior is involved in is in pointing of the toes downwards and inwards, so we need to make sure the programme addresses both these directions. The tibialis posterior is located very closely to the Achilles tendon, and the movement generated is also very similar. Because of this it can at times be tough to know whether it is the tibialis posterior or Achilles causing the issue, but the treatment is very similar and thankfully this programme addresses both so you will be covered.
Tendons can take up to 12 weeks to recover and in some circumstances longer, depending on the severity and also the individuals specific activities they want to perform. Whilst you are rehabilitating your tendon you need to be cautious not to overload your tendon and cause a spike in pain and also irritation to the tendon. This may result in a backward step and delay in your recovery. Equally important is not loading the tendon enough. It is a balance to create and unfortunately you won’t get it right every time, however as long as you don’t keep getting it wrong, and each week you are loading the tendon more, then you are heading in the right direction.
The next question you need to start asking is “why did this occur?”. This is really important so you can understand what you did to trigger such a reaction. Sometimes this can be really obvious but other times it needs a bit more thinking. If you play a specific sport, have you increased the frequency per week of doing this sport, the length of the session, or the intensity of the sessions? Did you recently change any equipment or technique? Equally some basic DIY or home activities can cause tendinopathy, even something as simple as going for a long walk or up and down the stairs more than normal. If you aren’t used to doing the activity and suddenly introduce it into your daily life, your tendons may not have time to adjust to the demands required of them.
The ‘why’ is important so that we can adjust things accordingly when we return to the activity and make sure we don’t repeat the same thing.
You can continue any exercises from the previous phase but you may find they have less value as you progress through your rehabilitation.
You want to make sure you get full range of motion and not to over do things initially.
Exercises
Even though from the testing you performed you were able to tolerate a high level of activity, it’s important we have a good base of strength and don’t neglect the basics. This will help us as we move through the phases and intensity. Another benefit of performing exercises which are hopefully relatively easy, is that it allows some time for any irritation in your tibialis posterior to settle whilst it still gets some load through it.
The aim of these exercises is to introduce some basic strength work. Remember to start off easy and only increase the intensity each week once the symptoms have settled.
Traditionally with tendinopathy you would perform the exercise eccentrically only. This means you focus on the lowering down portion of the movement, where your tendon is lengthening under load, and do not perform the upwards movement on the affected area. The evidence on performing the exercise focusing just on the eccentric movement is good, where it has been shown to give better outcomes than doing both the up and down aspects of the movement. However, you do still get a positive change from doing the up and down movements, with the difference being minimal in terms of outcome. It is also easier from a coordination point of view to perform, and in my experience people adhere to them more than those who have to do purely eccentric exercises.
So in the programme below if you wish to do eccentric loading wherever you see a calf raise exercise you can do, with no change in reps or sets needed. But equally, if you do not wish to, then you can perform the up and down movements of this exercise, and you can be rest assured that you will still get a positive outcome from the programme.
| Exercise |
|
Frequency |
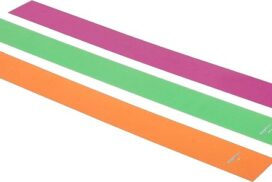
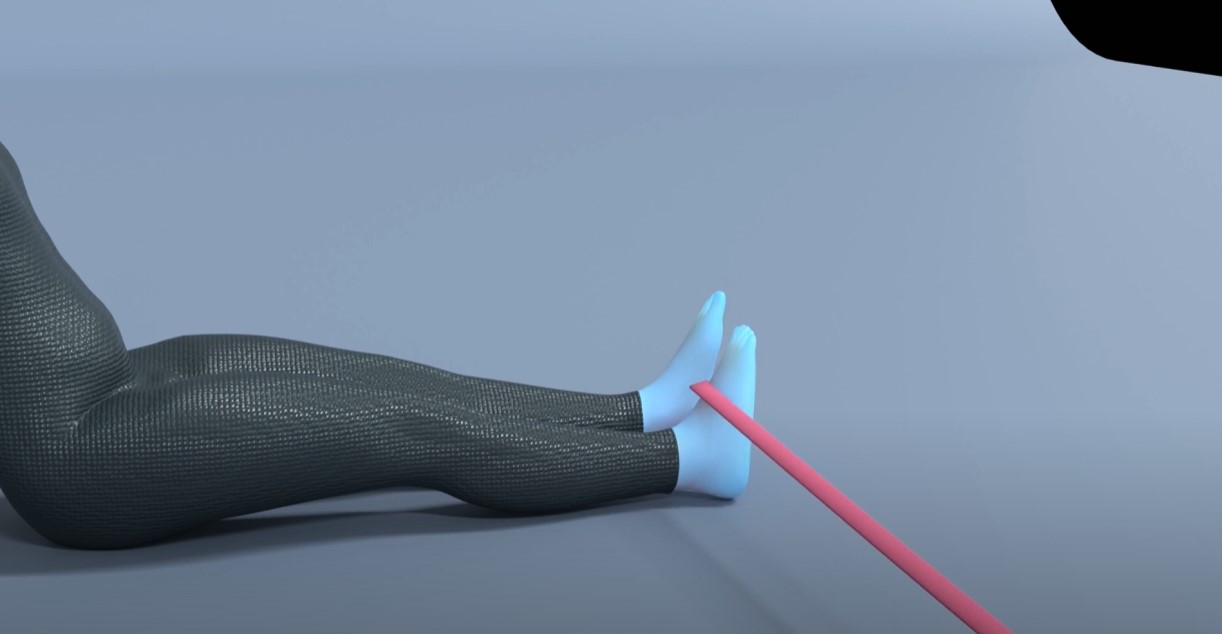
| Ankle Inversion with Resistance band |
15-20 reps x 2 sets |
2 x daily |
| Single leg balance |
30 - 60 secs x 2 sets |
2 x daily |
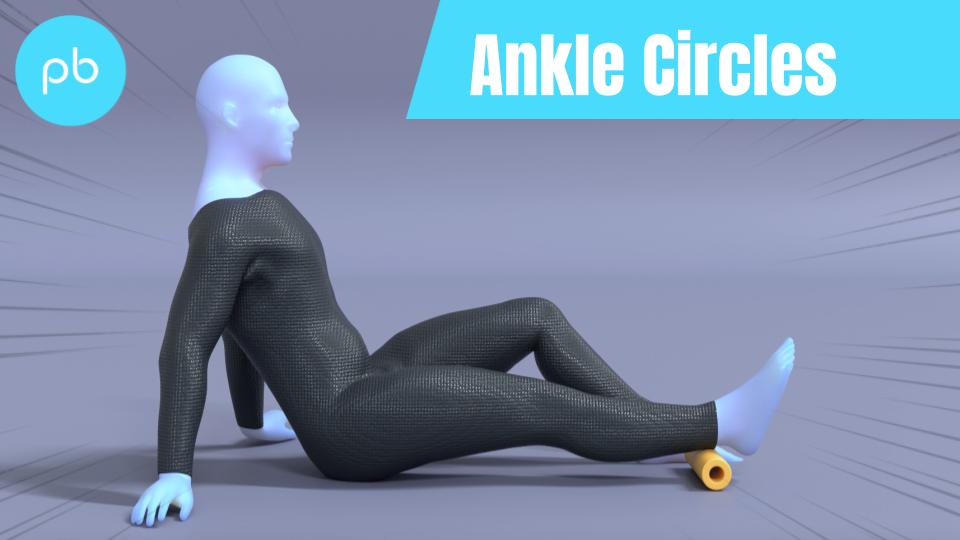
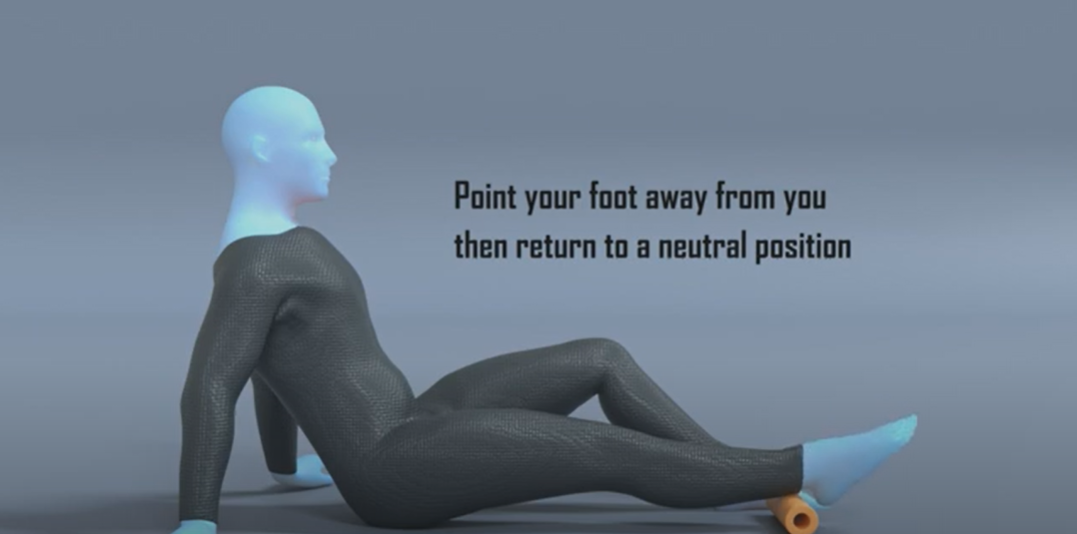
| Single leg isometric calf raise |
30 seconds x 2 sets |
2 x daily |
Some things to consider with the exercises:
- The exercises in this phase are to reintroduce some progressive load work onto your tendon. We have purposely put the single leg isometric calf raise last as this exercise may be the hardest so having a few exercises warm up before may help to complete this exercise.
- The movements of exercises 1 should be performed with as much range as possible.
- If you find with the balance exercise that it is becoming too easy, you can make things harder by performing this on a pillow or folded up towel to make things slightly unstable. However make sure whatever progression you add in that you remain safe throughout. Another progression if the pillow and towel is not challenging enough, is to simply close your eyes. This reduces the information you receive in order to help maintain your balance so your muscles have to work a little harder. Again make sure you are in a safe environment to build up to this level of difficulty.
- You may find it helpful to do these exercises in a circuit type fashion, where you do exercise 1 for 1 set, followed by exercise 2 for 1 set, then exercise 3 for 1 set. Make sure you have a rest after exercise 3, of at least 1 minute, before restarting at exercise 1.

Medication
You should expect to see the usage of medication reduced as you move through this phase. If you require medication to get you through the exercises, or immediately afterwards, perhaps you need to reduce the reps or duration of some of the exercises so that it becomes a little easier.
Acupuncture
The evidence for acupuncture is poor in improving healing time for tendinopathies. It can increase blood flow to the area which can help with the healing process, but so does performing the exercises we have mentioned. There is some evidence of improving pain, so it may be an option if that is your limiting factor and you have tried other options to reduce your pain without success. However, using acupuncture on its own is unlikely to improve symptoms, as a tendon's job is to absorb load, so any passive treatment is not going to help with this.
Massage
Similar to acupuncture massage on the calf muscles may help blood flow to the area and offer temporary reduction in tightness to the area, however similar effects can be generated with simple movement and stretching. You also do not want to generally massage an irritated tendon as the evidence on what this is doing, and the effect it has on performance is conflicting. The evidence again shows that massage alone will unlikely help with tendon performance, but used alongside an exercise programme can help reduce symptoms.

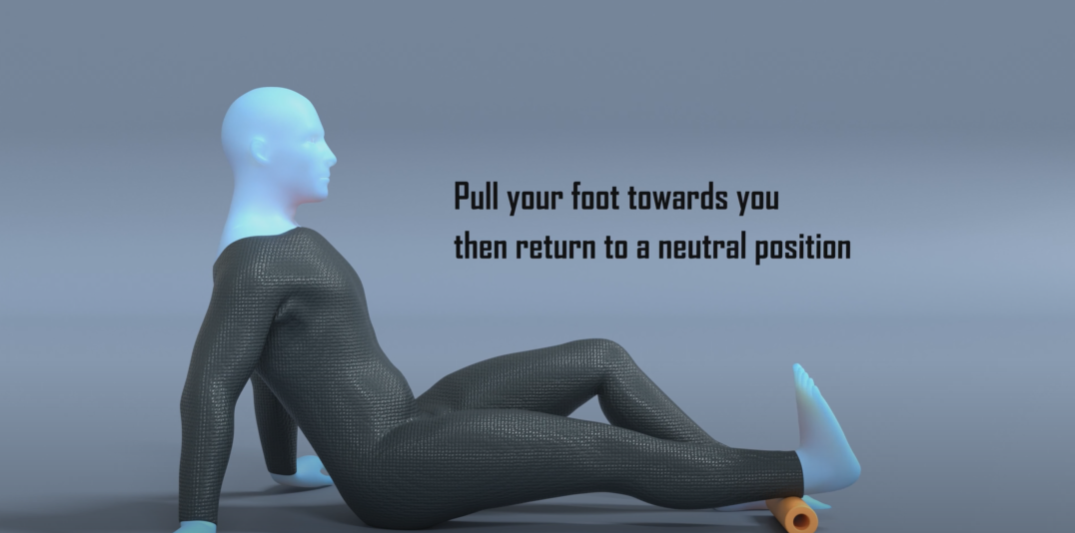
Foam Roller
A foam roller is used to offer self massage. They are marketed as a way to get similar results of a massage but without the reliance of a masseuse, making it more practical and cheaper for people to use. They are very popular within the fitness industry and with a lot of professional athletes using them within their warm-up and rehab routines. The idea is that similar to massages they increase blood flow to the area and also help with mobility by reducing muscle tension. Unfortunately the evidence on them having an effect on muscle length is minimal, and any change is short term, and the link that they reduce injury or improve rehab times is simply missing. Again similar to acupuncture and massage, a foam roller can be used alongside an exercise programme to help with symptoms, but used on its own will not improve tendon performance.
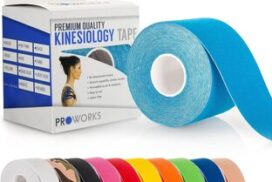
Strapping
There is an option to apply some strapping on your tibialis posterior which may help reduce your symptoms when performing the exercises, or to be used on certain activities which cause irritation. Similar to some of the other treatment options highlighted above the strapping won’t increase the strength of the tendon but reduce the symptoms it generates. The tape is called ‘Kinesio Tape’ and helps support the muscles and tendons in that area, and stretches with the movement. You can leave this tape on for a number of days but if you have particularly sensitive skin it could cause irritation. It may be helpful to put a small trial patch somewhere visible to monitor for a day or two before applying. If you do get a reaction, remove the tape immediately.
If you feel you are struggling to progress, or you feel your rehab is a little stagnant, or that general daily activities are still irritable, then it may be helpful to try this alongside the exercise programme.
Symptoms
During this phase you should start noticing more times in the day when you are pain free, however it is not uncommon for there to be sharp spikes in pain if you are doing a specific activity. This will improve and the activities which cause irritation should become less. If you continue to perform activities which consistently aggravate the tendon, it will continue to cause you pain and perhaps be affecting the end stage of healing. You need to alter the activities in some manner that are causing irritation until you have moved further along in your healing, and increased the strength in your tendon.
During the rehabilitation programme you may find that specific exercises or activities of daily life aggravate the tendon and you become sore for a couple of hours after. This is ok as long as the pain, is again below 5/10 on the pain scale and as long as it settles within 2-3 hours. If you are sore for the rest of the day, or particularly sore and limping the next morning this means you have done too much for that tibialis posterior tendon to cope with at this stage.
If you are struggling to wean off medication or perform the exercises in this phase it may be helpful to be reviewed by a medical professional to ensure you are on the right path. If they confirm it is an tibialis posterior tendinopathy then you can continue on the phases in this rehab programme.